
News
How Can You Assign a Static IP Address on Windows 11 or 10? | Ways to Change IP Settings Manually in Windows 11/10
The majority of the time, the computer doesn’t necessarily require a permanent or static IP address. But this might change if you happen to meet any of the conditions below. Recognizing your computer using an IP address: In this case, if you want to locate your computer using its IP address, setting up a fixed IP address can be more beneficial. You can troubleshoot network-related issues via this process as well.
If you want to allow applications to connect to your network device, you should assign a fixed IP address. Suppose you happen to have specific apps that can connect only to your network device by using the IP address. In that case, you should again go for the Static IP Address. Obviously, there might be other additional reasons for choosing a Static IP Address. Whatever might be the reason for choosing a Static IP Address, you can assign it very easily.
- Should you Assign a Static IP Address?
- How to Set a Static IP Address on Windows 11
- How to Configure a Static IP Address in Latest Windows 11?
- Assigning Static IP Address using Settings (For Windows 11 or 10)
- Using PowerShell (Every version)
- Setting up a Static IP Address using Command Prompt (CMD) (Only for Windows 10 and Below)
- Via Control Panel (Win 8 or Win 7)
Should you Assign a Static IP Address?
The majority of the time, the computer doesn’t necessarily require an unchanging or static IP address. But this might change if you happen to meet any of the conditions below.
- Recognizing your computer using an IP address: In this case, if you want to locate your computer using its IP address, setting up a fixed IP address can be more beneficial. You can troubleshoot network-related issues via this process as well.
- If you want to allow applications to connect to your network device, then you should assign a fixed IP address. If you happen to have specific apps that can connect only to your network device, by using the IP address, you should again go for the Static IP Address.
Obviously, there might be other additional reasons as well for choosing Static IP Address. Whatever might be the reason for choosing a Static IP Address, you can assign it very easily.
How to Set a Static IP Address on Windows 11
How to Configure a Static IP Address in Latest Windows 11?
Suppose you choose to assign a Static IP Address on your Windows 11 or any older operating system. In that case, you should check out all possible ways. Once you’re done going through all of them, apply the one which seems more applicable on your computer –
1. Assigning Static IP Address using Settings (For Windows 11 or 10)
This method is possibly the easiest of all the ones mentioned in this article. You just need to visit the Wireless/Ethernet page inside the Settings page. These are the steps to configure this –
- Press keys (WinKey + I) to open the Settings page.
- Select the ‘Network & Internet’ option and head towards the right side of the page.
- If you happen to be on a Wired Network, select the Ethernet option; otherwise, select the wifi Option.
- Choose the device you are using and want to establish a network connection.
- Click on the ‘Edit’ button next to ‘IP Assignment.’
- A pop-up window will show up. You have to use the drop-down menu and select ‘Manual.’
- You must enable the ‘IPv4’ toggle switch and enter a static IP address.
- Go on to fill other areas like the ‘Subnet prefix length’ to’ 24′ and Gateway to ‘10.1.2.1’.
If you already have some preferred DNS Domain Name System Address (DNS Address), enter that in the respective blanks. Otherwise, leave the space empty.
- Similarly, fill in the Alternative DNS address if you want any.
- Lastly, click save and restart your File explorer.
Now, you open the default web browser and check whether you can browse over the internet.
Read More: Windows 11 Preview on Unsupported Devices
2) Using PowerShell (Every version)
If you enjoy using things via PowerShell or Command Prompt (CMD) the most, this is how you assign a static IP address using PowerShell –
- Select the Windows icon and click on the ‘Windows Terminal (Admin).’
- The default or standard interface setting present on the Terminal is now the Windows PowerShell. If not, you can use the drop-down box and click on the same. You can also press “Ctrl+Shift+1” to run the PowerShell inside your Windows Terminal.
- Copy/paste the given code and press the Enter key to save your current network configuration.
“Get-NetIPConfiguration” - When you run this command, it will display the current configuration on your computer.
- Write down the available details from the list of the given information –
1. “InterfaceIndex:”
2. “IPv4Address:”
3. “IPv4DefaultGateway:”
4. “DNSServer:”
When you have successfully noted down the available values of the items mentioned above, copy/paste and run the given code –
“New-NetIPAddress -InterfaceIndex 5 -IPAddress 192.168.202.149 -PrefixLength 24 -DefaultGateway 192.168.202.15”
Note: Please make sure you replace the InterfaceIndex, DefaultGateway, and IPAddress values in the code. The PrefixLength or subnet mask remains 24 for your home network by default. It is recommended to change it only when the same differ on your computer.
- If you wish to assign a static DNS server to your network, copy/paste and run this code –
“Set-DnsClientServerAddress -InterfaceIndex 5 -ServerAddresses 192.168.202.15”
- If you wish to add another secondary DNS server address, run the above code and a different address separated by a comma.
“Set-DnsClientServerAddress -InterfaceIndex 5 -ServerAddresses 192.168.202.15, 8.8.8.8”
And you’re done. The IP address and associated server address have now become Static. Start your Web Browser and check whether the network is working fine.
3. Setting up a Static IP Address using Command Prompt (CMD) (Only for Windows 10 and Below)
Command Prompt or CMD provides an alternative way for you to set up a static IP address on the system. However, this specific method would not help you if you’re running the latest version of Windows, which includes the Windows Server 2012.
Follow the given steps to set up a static IP Address –
- Start your Command Prompt as an administrator.
- When it’s running, copy/paste the code given below and hit ‘Enter’ –
“ipconfig /all” - When running the command, it will display the current configuration on your computer.
- Head over to the Network Adapter (Wireless or Wired), and jot down the given details –
1. “IPv4:”
2. “Subnet mask:”
3. “Default Gateway:”
4. “DNS Servers:”
- Once you have successfully jotted down the values of the items mentioned above, run the following code –
“netsh interface IP set address name = “Interface Name” static IP_Address Subnet Mask Gateway.”
For example – netsh interface IP set address name=”Wi-Fi” static 172.198.252.169 245.245.245.0 172.198.252.15. The term “Wifi” is the interface name in the example given above. In contrast, other values are IP address, default gateway address, and Subnet Mask.
If you wish to assign a static DNS server address to your computer, execute the command given below –
“netsh interface IP set DNS name=” Your DNS Name” static Your_DNS_Server_Address.”
Now, since you have finally assigned a static IP address DNS server to your computer, head to your Web Browser and check whether everything is working fine.
Note: “Netsh” command is abhorred on the Windows Server 2012 and the latest Windows versions. Instead of using the Network Shell command, we recommend you try out the NetTPIP networking module, which is offered by PowerShell.
See More: Speed Up Windows 11 Performance
4) Via Control Panel (Win 8 or Win 7)
Even though the PowerShell method mentioned above will work on all older versions of Windows, you can use this control panel method if you’re not comfortable with running codes. Check out the given steps –
- Open the ‘Control Panel’ on your device in the initial step.
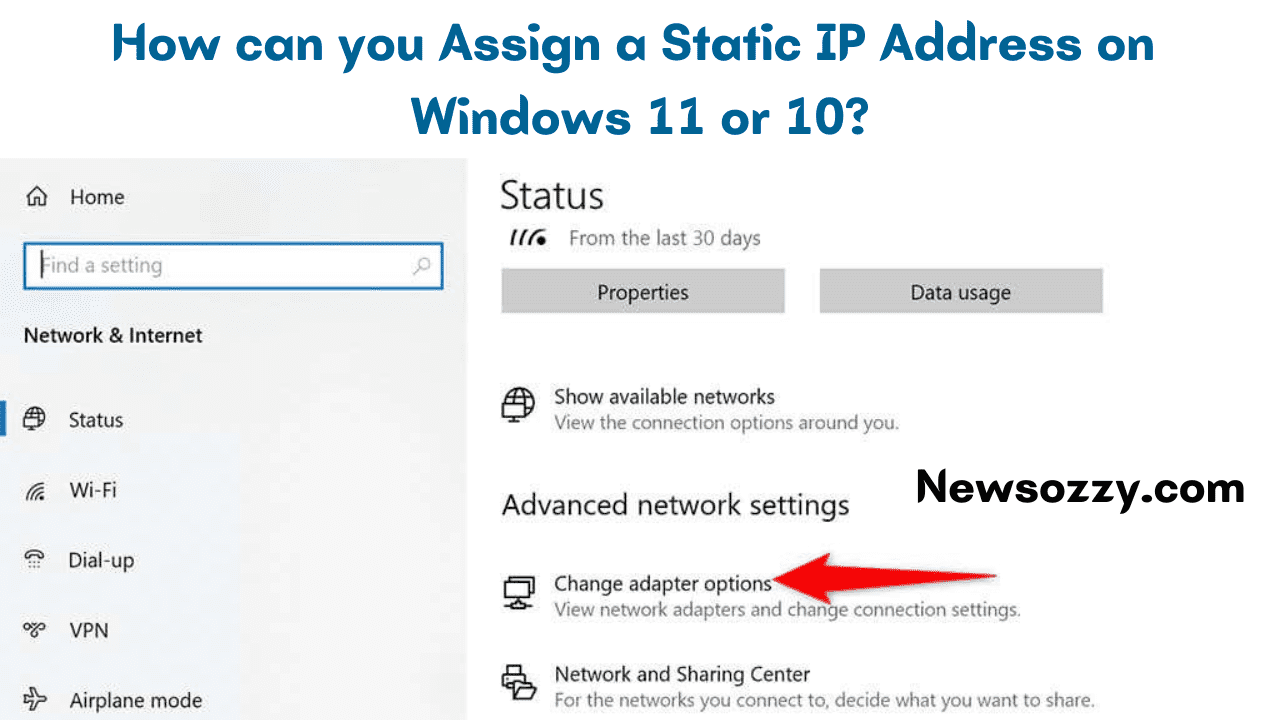
- Select the ‘Network & Internet’ option and head to ‘Network and Sharing Centre.’
- On the left side of the pane, click on the ‘Change Adapter Settings.
- Select the Current Adapter option (Ethernet or Wireless), and select the ‘Properties’ option.
- When the next window pops up, select the option – “Internet Protocol Version 4 (IPv4 or TCP).”
- Then you have to enable the “Use the following IP address” button. Enter all the required details like your IP Address, Default gateway, and the Subnet Mask.
- The next step would be to tick off the “Use the following DNS server addresses” checkbox.
- Enter your preferred DNS and Alternate DNS server. Alternate servers will come to use when a specific condition is matched. Like say when the preferred DNS is not reaching, so the computer knows where to head to as a Plan B.
- Click on ‘OK’ and continue doing the same on all the previously opened windows as well.
- Once you close all your windows, restart your computer.
- Once you are logged in again on your computer, surf freely on your standard web browser.
We hope all your issues are resolved, and you now know how to assign a Static IP Address on your computer.
Let us know if you have any suggestions or queries in the comments.


-

 News2 years ago
WhatsApp DP for Students to Free Download | Creative WhatsApp Profile Picture Images that Make you Smile
-

 News2 years ago
Top 100 Funny Group Chat Names for WhatsApp & Other Social Media Apps | Best Cute Cool Fun Ideas for Group Names
-

 News2 years ago
Morning Assembly Word of the Day List for Students | Best Word of the Day for High School Students
-

 News2 years ago
Best Cute Funny Throwback Picture Captions 2022 | Unique Flashback Quotes for Instagram Posts & Stories
-

 News3 years ago
100+ Best Captions for Brother’s Handsome Photo That You Can Copy And Paste Easily
-

 Instagram2 years ago
Top 200+ Best Cute Cool Instagram Bio Ideas of 2022 That You Can Copy-Paste Easily
-

 News2 years ago
100+ Best Cute Sweet Funny Instagram Captions for Sisters Photo | Get Free IG Quotes & Puns for Sisters Selfies
-

 News2 years ago
What are Some Cool Funny Activities for College Students? | Best Tasks for Party Games