
News
Complete Guide on Classic File Explorer in Windows 11 | How to bring back the Old File Explorer in Windows 11?
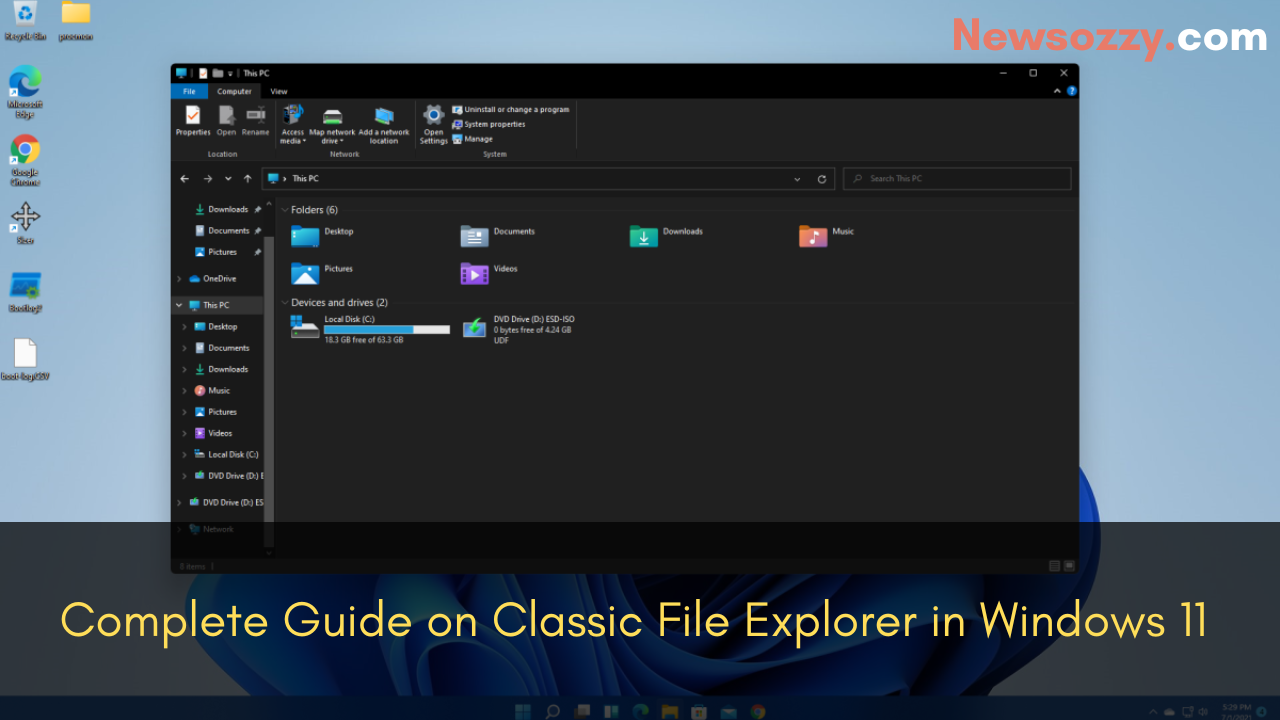
With the launch of the new operating system known as the Windows 11 OS, Microsoft the company behind this “next big thing” operating system has overhauled several features which have also included the way the File Explorer represents its content. Huge improvements and changes have been seen in the new operating system in comparison to the older Windows 10 version in all aspects like design, display, animations, performance, speed, etc.
Even though this new change in the File Explorer looks amazing, it’s an opinion that can differ from user to user
In case you are not too fond of the new change, this article will help you switch back to the Classic File Explorer on your Windows 11 device.
- How to Restore Classic File Explorer in Windows 11 Device?
- How to bring back the Classic File Explorer on a Windows 11 Device?
- Restarting the File Explorer
How to Restore Classic File Explorer in Windows 11 Device?
Now there is no particular feature that permits a user to simply switch back to the Classic File Explorer, a user can use hacks like tweaking a key entry on the registry editor tool which is known as the “SeperateProcess” key.
The one reason why several users are switching back to the Classic File Explorer is that the new context menu does not provide the options that used to be present on Windows 10. In case you want to switch back, you can follow the below-mentioned steps on your Windows 11 device
Imp Note- it is recommended to create a system restore point ( it is like a backup copy of your operating system, files, and settings which can be used in case you need to recover your device system) and a full registry backup (this is a manual backup which is used to back up the configuration information in the database called registry).
These two backups are recommended to avoid any data loss.
How to bring back the Classic File Explorer on a Windows 11 Device?
- Click on the (win + X) keys. This will launch the Power Menu
- Then select the Run option
- Once you open the Run dialogue, proceed to type “Regedit” and then click on the enter button
- If in case the UAC (user account control) prompts a question, select the Yes option which will then authorize opening the registry editor tool.
- Once you see at the Registry Editor, you will then have to navigate the following path-
HKEY_CURRENT_USER\Software\Microsoft\Windows\CurrentVersion\Explorer\Advanced - Then move to the right panel and search for an entry which is named “SeperateProcesses”
- Now if you are on the Build version 22000.51 you can easily find this setting/entry present under the Advanced Folder
- But if you are unable to find it under REG_DWORD you can create one by right-clicking anywhere on the right panel of your desktop screen.
- Then go to the contact menu and select the New>DWORD (32-bit)value
- Once you have created this new entry, you can double-click on it and rename it as “SeperateProcesses “
- The default value is usually set to “0” so make sure to change the value data to “1”.
- Once you are done completing these steps just log out of your user account or restart your device
- The File Explorer should switch back to its previous look
Also, Read:
Restarting the File Explorer
You can opt to skip restarting or logging out of your device but then, you will need to restart the File Explorer on your device.
Here are the simple steps to perform this task of restarting your File Explorer-
- Click on the Ctrl + Alt + Delete buttons and which will open the task manager
- You may then find the Windows Explorer present under the Processes tab.
- In case, the Explorer is not running you can find it inside the background processes.
- You may have to keep scrolling till the end to find this item.
- Proceed to select the windows Explorer portion by right-clicking over it and then selecting the ‘Restart’ option.
- By performing these tasks, your device will restart your explorer. Then you will be able to see the Windows 10 folder icons on your Windows 11 device.
Important note: By using this method, you may be subjected to a certain amount of waiting time to adapt to the new changes made on the Registry Editor tool. This is why you must make sure that you are patient and you do not rush unnecessarily.
If you are unable to spare the time you can simply just restart your device.
If you ever wish to revert back from the changes you just made on the registry, you can navigate the same location at the registry. And then simply change the value of “SeperateProcesses” back to “0” which is the default value.
We hope this article helped solve all your queries regarding switching back to the Classic File Explorer. Let us know in the comment section if have any suggestions or queries regarding the same.


-

 News2 years ago
WhatsApp DP for Students to Free Download | Creative WhatsApp Profile Picture Images that Make you Smile
-

 News2 years ago
Top 100 Funny Group Chat Names for WhatsApp & Other Social Media Apps | Best Cute Cool Fun Ideas for Group Names
-

 News2 years ago
Morning Assembly Word of the Day List for Students | Best Word of the Day for High School Students
-

 News2 years ago
Best Cute Funny Throwback Picture Captions 2022 | Unique Flashback Quotes for Instagram Posts & Stories
-

 News3 years ago
100+ Best Captions for Brother’s Handsome Photo That You Can Copy And Paste Easily
-

 Instagram2 years ago
Top 200+ Best Cute Cool Instagram Bio Ideas of 2022 That You Can Copy-Paste Easily
-

 News2 years ago
100+ Best Cute Sweet Funny Instagram Captions for Sisters Photo | Get Free IG Quotes & Puns for Sisters Selfies
-

 News2 years ago
What are Some Cool Funny Activities for College Students? | Best Tasks for Party Games